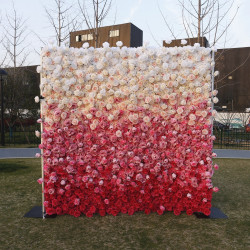
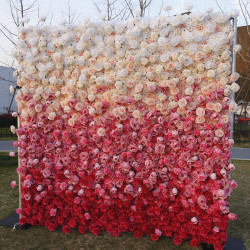
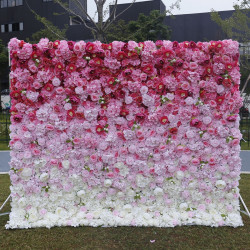
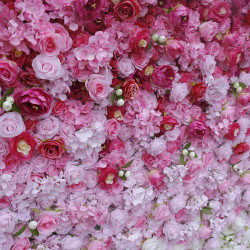
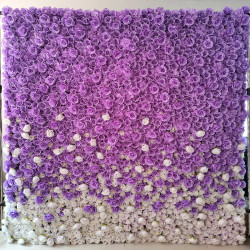
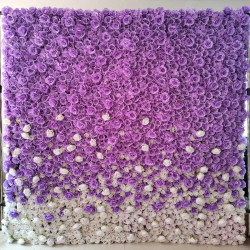
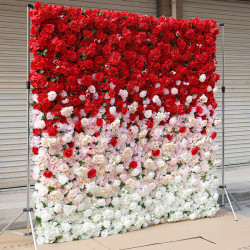
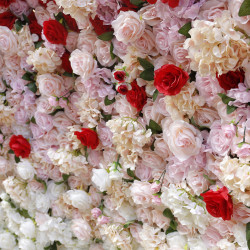
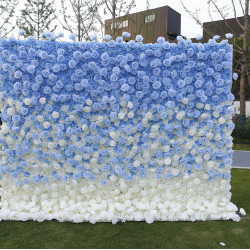
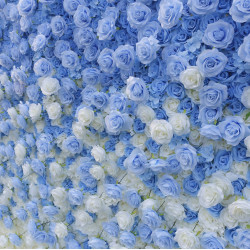
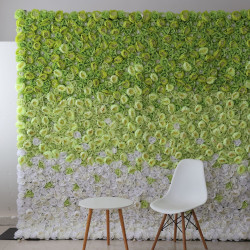
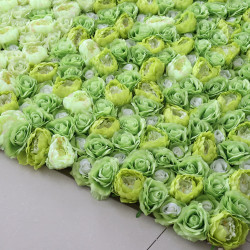
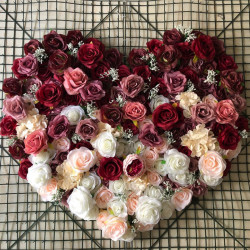
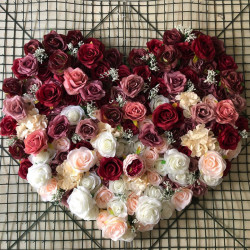
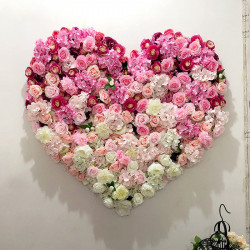
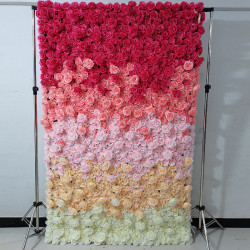
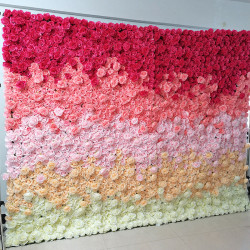
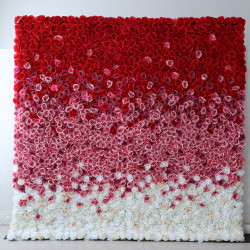
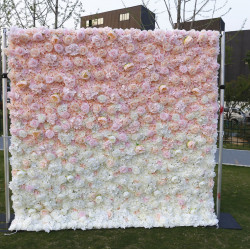
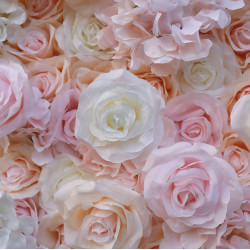
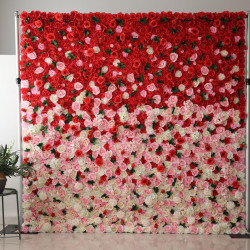
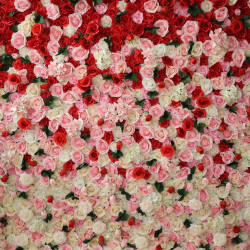
Gradient Flower Wall
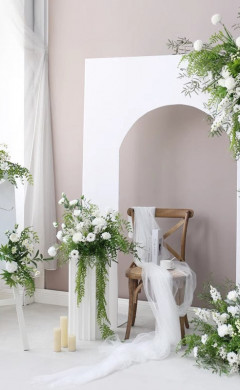
Diy flower wall for any occasion
Do you ever fantasize about strolling across meadows of flowers? Do you consider yourself a flower child? Do you find it difficult to pass up a beautiful bunch of flowers? A DIY flower wall will enhance your next event if you say "yes" to any of these questions!
An easy-to-make yet attractive DIY flower wall is a great way to incorporate fresh flowers into your decor. We'll walk you through the simple seven-step DIY flower wall creation process. See what supplies you'll need to construct a bare floral wall before we get started!
DIY Flower Wall Materials
Pliers: The crimp tubes are fastened in place using pliers.
Scissors: You'll need a sharp scissors set to cut the craft wire and stems.
Needle: To thread the fishing line through the blossoms, use this.
Crimp tubes: These are used to keep anything attached to the line from slipping out and to hold your flowers in place. You may secure your wires to the branch with it as well. Crimp tubes are typically located in the jewelry department of craft stores, but you can find them anywhere—smaller ones are the ideal crimp tubes to use while threading flowers.
Craft wire: You'll use this to fasten the flowers and foliage to your branch.
Fishing line: Depending on the size of the wall you desire, cut the fishing line to a length of around six feet. Always cut more than you need when in doubt! An additional line to work with is always preferable because you'll use it to tie the blooms to the branch.
Using a paintbrush, apply glue to your flowers and attach gold leaf to the petals and stems.
Gold leaf is optional; however, we utilized it to add even more personal touches to our wall. Try incorporating different types of décor to personalize your flower wall.
Glue: The gold leaf is affixed to the flowers using glue. Gold leaf adheres effectively to both clear and white glue.
Branch: To create your DIY flower wall, hang your floral strands from this branch. Naturally, avoid selecting a branch that exceeds the size of your display space. Below are some hanging tips for you.
Greenery: Select foliage that blends in with the overall concept you wish to achieve. Silver dollar eucalyptus, for instance, looks great at a contemporary wedding. If your decor is rustic, leather fern is a better option.
Fresh flowers: Choose blooms that will pop against your wall by choosing ones with large blooms. Selecting flowers that thrive without water is ideal. Below is a list of recommended flowers.
Branch and Hanging Tips
A branch of birch wood similar to the one we used can be purchased from a nearby hardware or craft store. If you want a more straightforward look, a plain wooden dowel is perfectly functional and available at the same retailers. Finding an existing space in your house or venue to turn into a floral wall is a far better option!
To securely hold our branch in place, we used curtain brackets. Curtain rods are held in place by brackets. If you intend to use this method, measure the diameter (width) of your branch or dowel before you buy it. Since the diameter of a curtain rod determines curtain bracket sizes, you want to be sure you order the correct size.
Flower Favorites for your Flower Wall
No matter what kind of motif you have chosen for your wall, you should grab various flowers!
For an ombre flower wall, consider using flowers with various colors. Or, if you like a monochrome effect, gather many of the same-colored flowers. Try varying the colors and flowers for a stylish design! If you need inspiration on what to use, we have some floral wall ideas below.
Here are some of our recommended florals:
- Peony
- Carnation
- Dahlia
- Amaranthus
- Chrysanthemum
- Baby’s breath
These are some more well-liked options for flower walls, but they require more care. These are attractive options, but we advise against utilizing them if you only use your wall for a day.
- Rose
- Ranunculus
- Anemone
- Gardenia
Pro Tip: It's recommended to keep your flowers in water for at least 24 hours before creating your wall, regardless of the flowers you choose. By doing this, you can make sure that your flowers are adequately hydrated before hanging them.
To revive your flowers, always have a spray bottle close at hand. Throughout the process, lightly spray the blossoms as needed. Your flowers will get soggy and turn brown if you give them more than a light mist.
How to Make a Wall of Flowers
Total project time: 1-2 hours
Step 1: Decorate your branch with greenery and flowers.
Start by tying your preferred foliage in the appropriate places around the branch. Tighten the craft wire around the greenery to affix it to the branch. Any areas that appear loose can be fixed using a hot glue gun.
Step 2: Prepare and cut flowers.
If desired, trim the flower stalks to a length of two inches and remove the leaves off the stems. Depending on the desired look and the weight of the flower head, you can adjust the amount of cutting. A longer stem makes getting a flower to hang more erect slightly easier.
Pro Tip: Use gold leaf to add a dash of class to your flowers.
Put your gold leaf and glue :
- Put different dishes to make things easier to use.
- Apply the glue straight to the desired flower area by lightly dipping your brush.
- Pata, add a few flakes to the desired location using your brush to gather them.
A few branch leaves, flower petals, and flower stems have gold leaves applied to them.
You will learn how to make your floral lines by following these steps! Approximately five to eight of them will be made, depending on how long you want your wall to go. We made five lines with five blossoms on each strand to cover a four-foot-long branch.
Step 3: Attach the crimp tube to the line.
Insert approximately five to six inches of line through a crimp tube. Using your pliers, clamp it on the line to secure it.
Pro Tip: When threading more flowers, if you're not sure how far apart to thread them, lightly clamp your crimp tube so you can adjust its position. Clamp your tube firmly once you are satisfied with where you are.
Step 4: Thread the line through the flower using the crimp tube as a stopper.
Start by passing your fishing line's longer end through the needle. Make a puncture in the flower's stem with your needle, then draw the needle through until the crimp tube is right up against the flower. Remove the entire needle from the line once the crimp tube is in position.
Keep the exact distance between your flowers as you repeat steps 3 and 4 for each flower. Remember that you are going from the bottom up since the first flower you attach should be the end of the line.
Now and again, hold up your line to observe your advancement. To wrap your rope around your branch comfortably, remember to leave at least one foot at the end. You have more room to change the height the more you go at the end.
Pro Tips for attaching:
Depending on where you thread, you can achieve different hanging effects for your flower.
The closer you thread to the bloom, the more upright the flower will hang. On the other hand, a flower falling downwards is less likely to perish the next day than one hanging erect. This helps the water move from the stem to the flower, keeping it hydrated longer when the flower is hanging down."
We strongly advise using crimp tubes because securing the line is difficult and it gets knotted.
If you don't have access to crimp tubes, we suggest using a hot glue gun as an alternative method of securing your knots. Attaching the flowers while the line is flat on the ground is easiest.
If you unintentionally pull the crimp tube through the stem, remove the fishing line from the needle and tie a knot around the stem.
And go down your line, securing your knot with another crimp tube.
The following instructions explain how to tie the lines to your branch firmly.
Step 5: Thread the top of your completed line through the crimp tube.
Thread the end of your finished line through a crimp tube, just as you did with your other lines. Clamp your tube now, but wait!
Step 6: Wrap the remaining line around the branch.
To create a loop, wrap the shorter end of your line around the branch. By pushing the line higher or lower, you may change the height. To check its appearance, climb a step ladder or ask a tall buddy to help you.
Step 7: Rethread the line into the tube and crimp.
Rethread the fishing line end into your tube and use your pliers to secure it after you're happy with your height. For every line, repeat this procedure.
Pro Tip: If you know where your branch will hang, hang it before fastening the lines. This allows for more precise height adjustment, but attaching and clamping the crimp tube will be more challenging. It's best to have a friend help you when changing the height of the wall and attaching the lines. This way, you'll have someone to help you see the whole wall and lend an extra hand."
With your DIY flower wall background, you can proudly call yourself a parent! This would look fantastic as the backdrop for a romantic table or as a fun photo booth area.
It's simple to hang the flowers on any wall in your house or place of business because they are fastened to a branch. Additionally, it's simpler to relocate if you discover a better locati0n! Mist your floral wall occasionally to keep the blossoms fresh and vibrant. Additionally, you want to shield this from direct sunshine.
After learning how to create a flower wall, check out these gorgeous DIY flowers and other inspirations!
You now have an easy-to-make, gorgeous floral wall that is uniquely yours! If you want to show off your creativity, consider making a balloon arch or floral chandelier. You can use them to welcome guests at your wedding or to enhance the backdrop at a bridal shower. After this enjoyable DIYing, remember to pick up the ideal bridal bouquet!
